This is the fourth post in a series documenting my method of construction for an entire set of custom kitchen cabinets. This series is not intended to be a full how-to tutorial, but rather to show the sequence of steps using photos and commentary. You can find all the posts in the series here. Please comment below or send follow-up questions to jonathan@jmoncton.com.
All the visible edges of plywood receive a glued-on, 10mm thick piece of mahogany hardwood. I grab a coupIe of the narrower boards out of my rack and cut the 10 foot pieces down to more manageable lengths with my jigsaw. This is all 4/4 (spoken as four-quarter) lumber, meaning that it is about 1” thick from the sawmill.

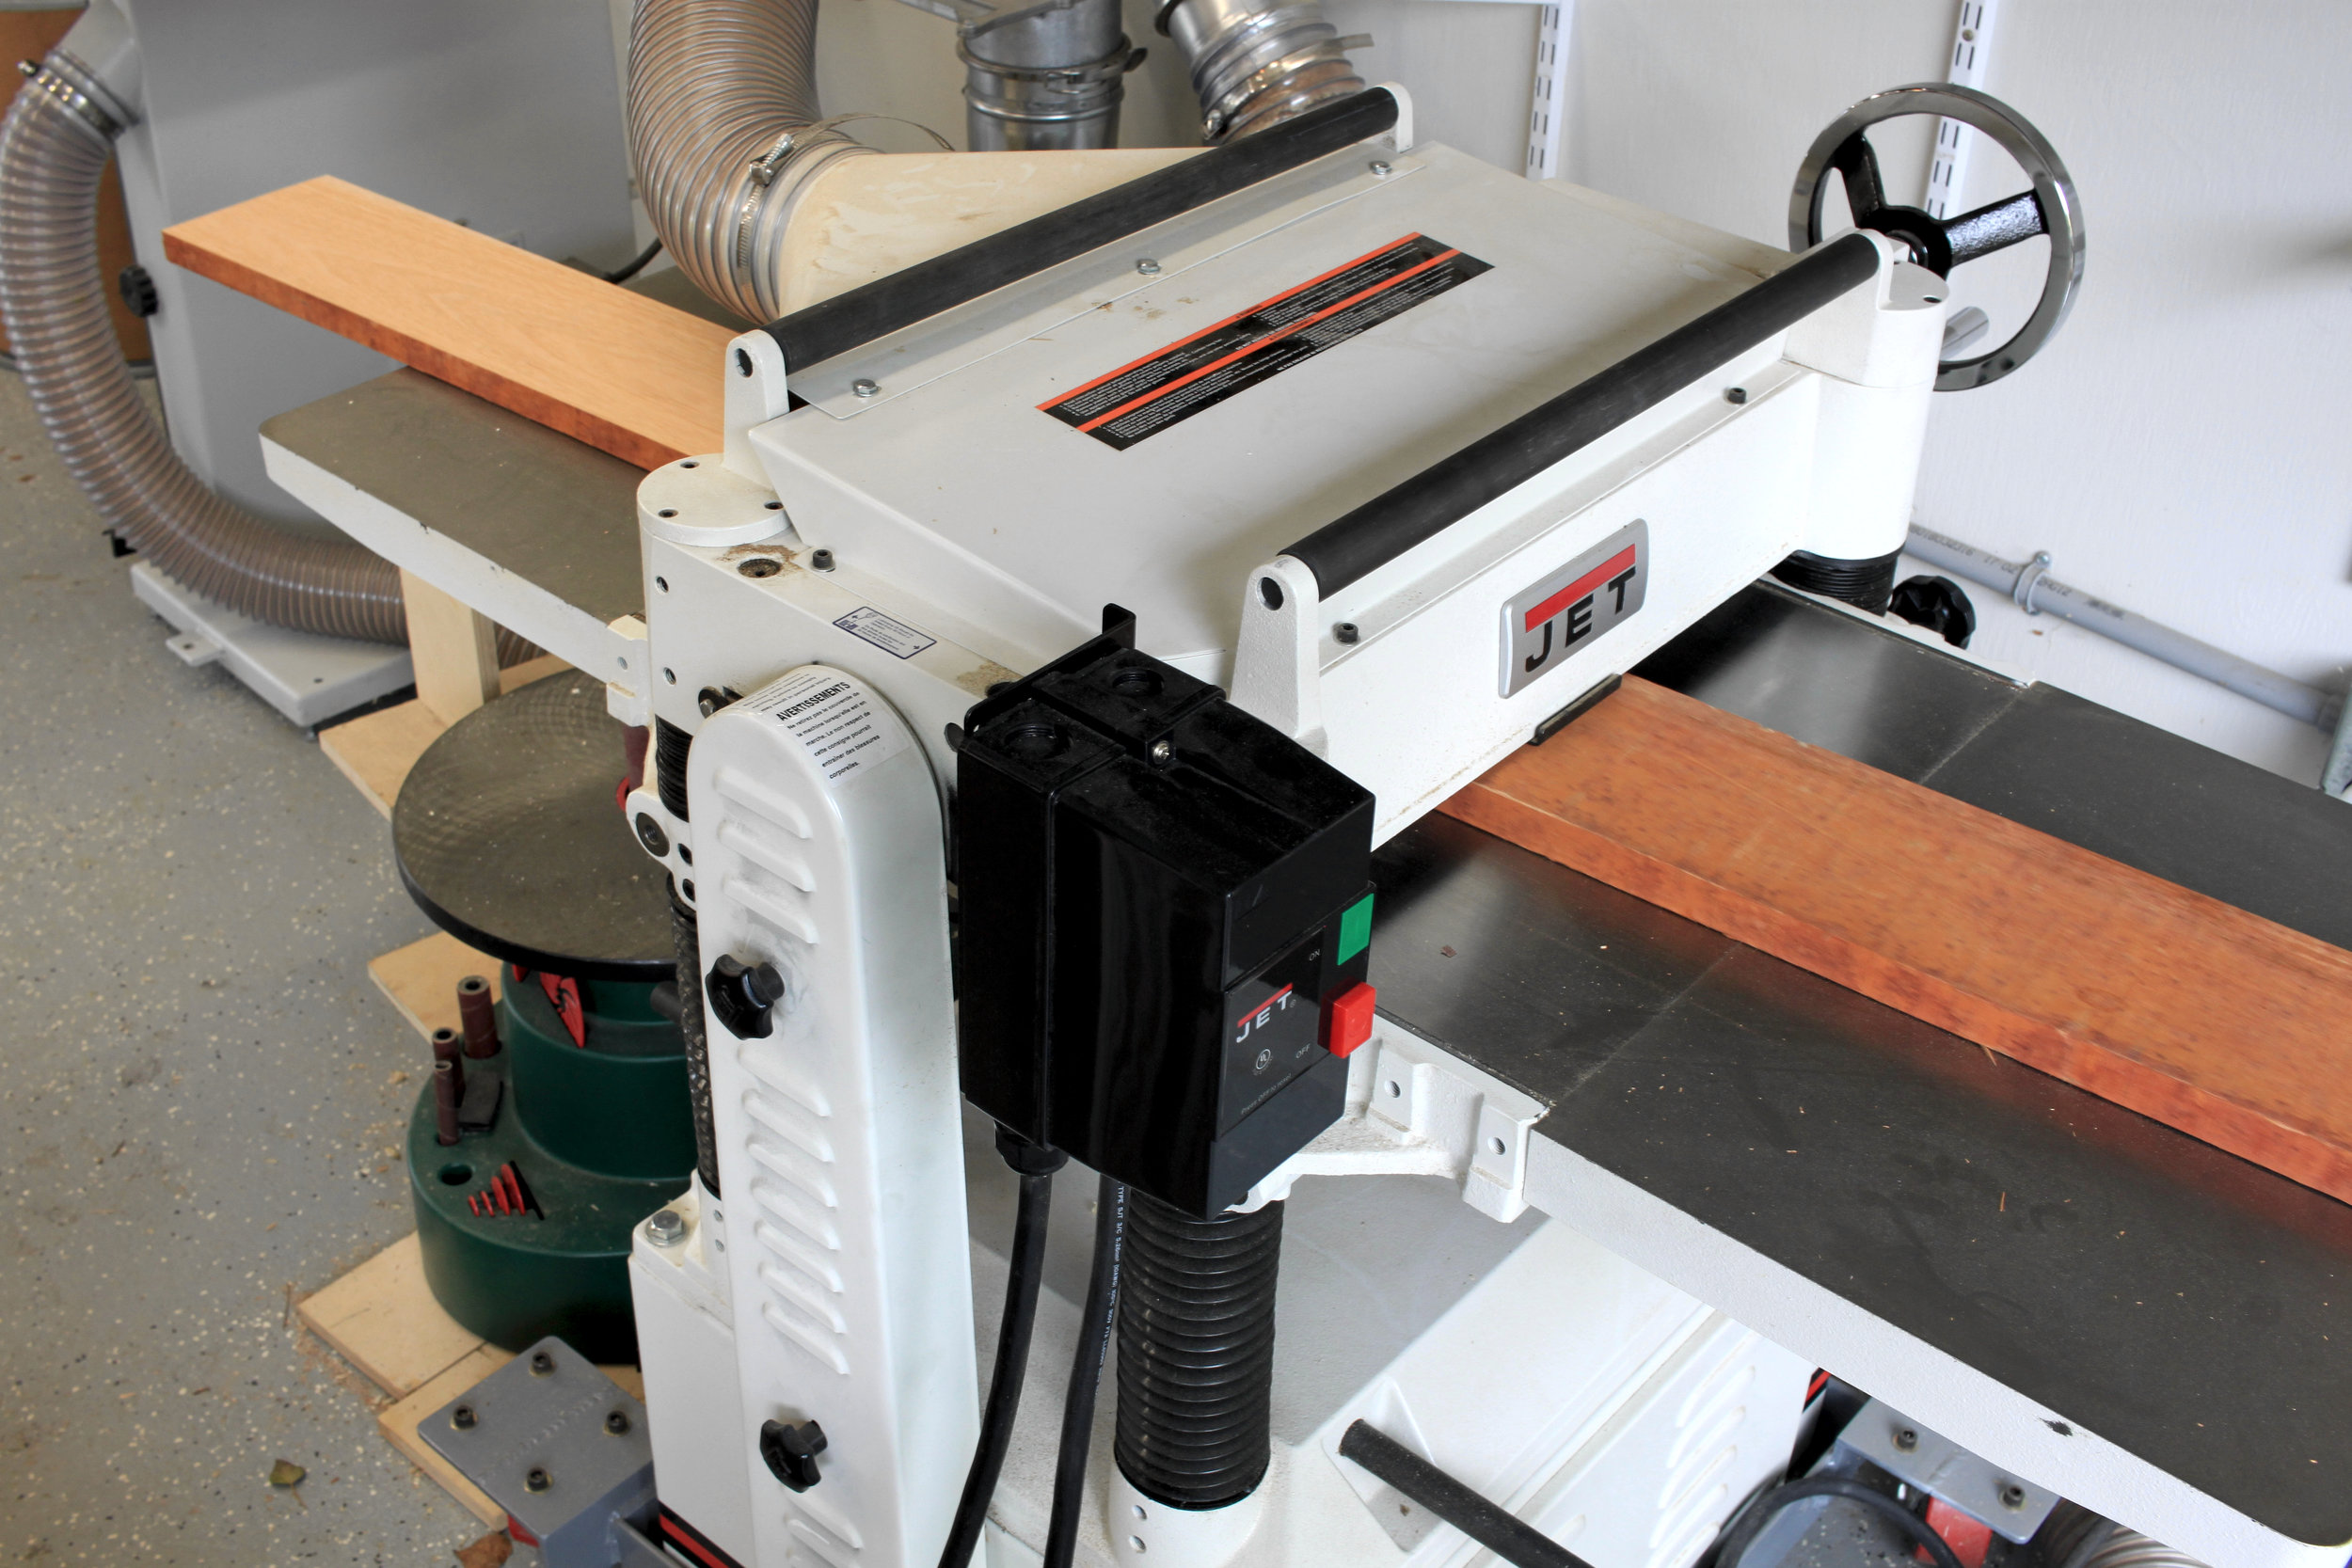
I feed both sides through the planer until the pieces are about 22mm (7/8”) thick. They should be comfortably oversize for the 18mm thick plywood. The excess will be trimmed off later.
I then smooth one edge on the jointer.

My 20” Jet planer and 12” Delta jointer are large machines for a home shop, especially a small shop like mine. The capacity of these tools makes them worth it for me, but big machines like these are not necessary for making cabinets. A box store “lunchbox” planer will do the trick, and the edge can be cut with a circular saw, jigsaw, or even a hand plane. I didn’t have these tools when I built my first kitchen.
A tool that is indispensable is the table saw. Using a thin push stick I rip as many 12mm wide pieces as I can get out of each board.

For this cut I switch over to a 24-tooth narrow ripping blade. I really don’t care about the quality of cut here since it will get milled again anyway, and the thin kerf minimizes waste. Below are the two blades I have used so far, with the plywood blade on the right, and the ripping blade on the left.

Once all the pieces are cut I feed them through the planer on each side, milling them from 12mm to 11mm on one side, and then to 10mm on the other. Here’s my pile of trim from just two boards. This batch should last me for most of the project.
